
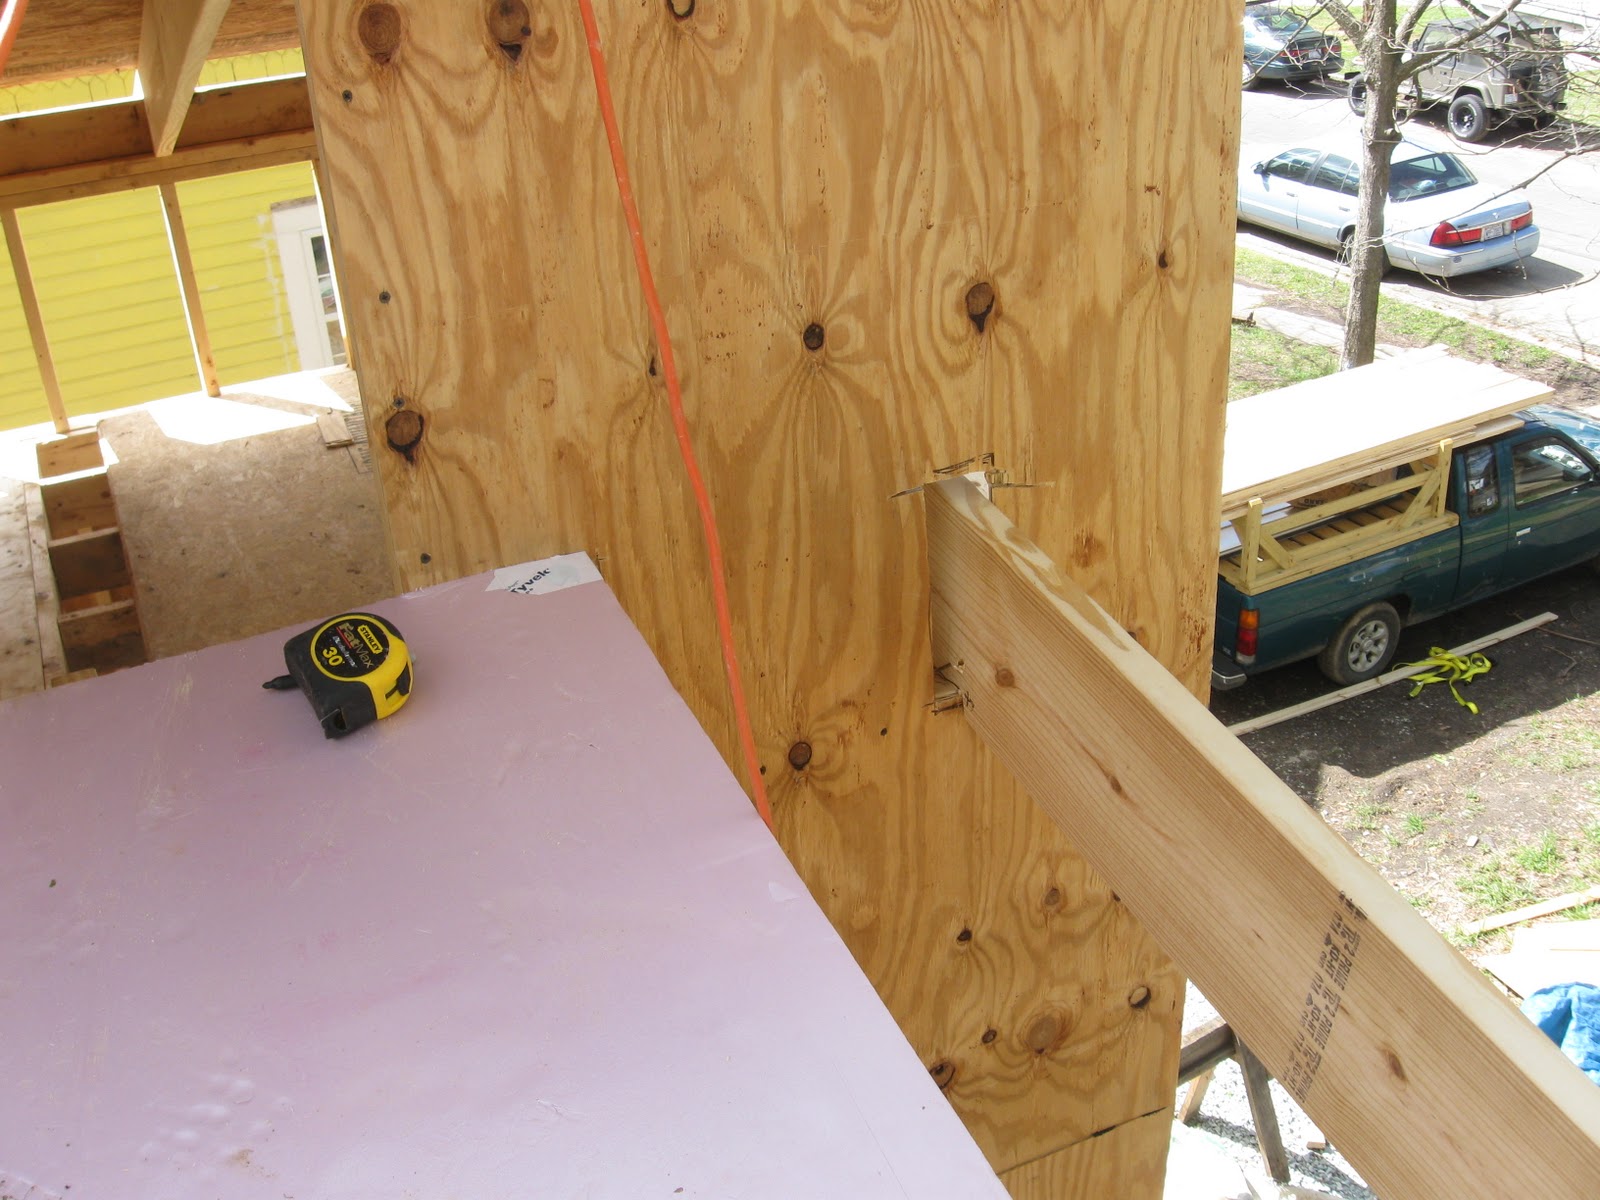
Here is the pink foam insulation that I referenced in the last post, taped with Tyvek tape along the seams. This kept the rains out this morning:

This is the fastening method for the insulation. A screw with its force spread out with a "fender washer," driven down into the OSB beneath the foam:

The first thing I did today was put up two new rafters, each one creating the desired overhang on either side of the lower roof (this might be easier to understand as the photos continue below...). Because the roof is a shallow pitch, it's really easy to walk around on and place tools down on (without them sliding off). Instead of cutting my rafters on the ground, and then heaving them up, I just set up my cutting station on the roof. You can see the black Sharpie mark that I've drawn on the rafter below. This is one of the three notches that needs to be cut out so that the rafter will sit properly on its supports.

This is a triangle support that I made to hold up the end of the rafter, sticking out from the edge of the house):

Here's the rafter sitting up on the triangle support. This is before the rafter was notched (and placed properly in line) - I set it up prior to notching so that I could locate where exactly to make my Sharpie notations for the notches:

Here is where I cut through the plywood for the other end of the rafter to sit on the stud wall:

I didn't extend the OSB and foam onto these new rafters, because I don't want to be able to see OSB or foam when I look up under the eaves, when the house is finished. I just want to see the underside of the metal roofing (and besides, insulation isn't necessary on an overhang). So before laying the purlins (which you'll see later on...), I had to make up in height for the 1 7/8" of material that is on the other rafters (2 sheets of 7/16" OSB, and 1" foam). I used Ken's table saw to rip 2X4s down to 2X 1 7/8"-ers, which you can see below:

I started to screw them in along the top of the naked rafters:

And the ends...

Then I began to bring up the purlins, which are strips of wood that run perpendicular to the rafters, upon which will sit the metal roofing.

Installing the purlins:

Done! (for the lower roof)

Here's are some good shots of the triangle support, the installed rafter, and the purlins:


____________________
And here are some other thoughts/photos....
Look at this view! This is looking up towards the Eastern sky in the kitchen. I'm still waiting patiently to find the perfect windows to stick up in these stud bays (at least 3 or 4 of them). These kind of special views are very rare in houses, from my experience. When you walk into most homes, you are forced to experience the world at just one height, which tends to be the eye level of the average human. This doesn't make sense to me. I want to see ground, sky, tiny views, big views, winter views, and summer views. Windows are incredible devices, that determine how we experience the outside world from in our homes. Having them all match in aesthetic, size, and height is a design failure.

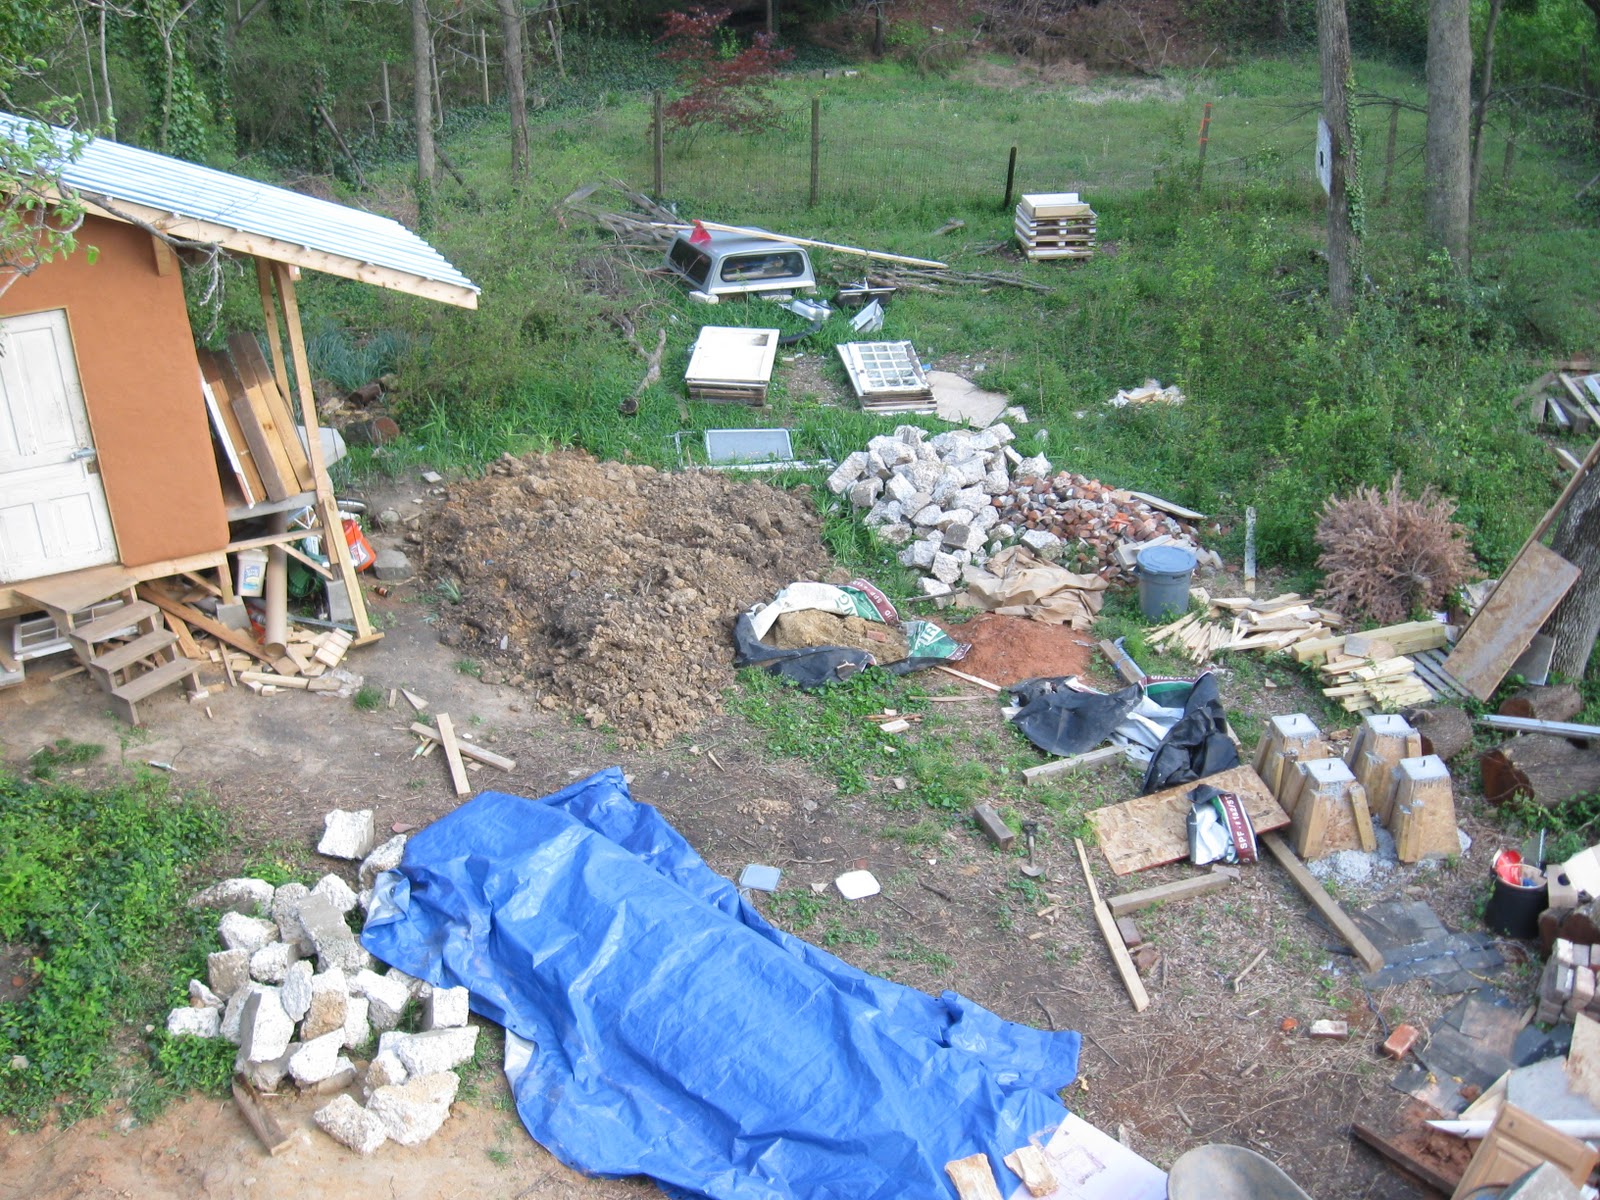
Here's the roof over the bay window that I finished up last evening. Some day this will look out onto a flourishing garden, not piles of materials.

And here's a shot of the backyard from up on the roof:
You did this on your own? That’s great! Looks like you’re pretty handy when it comes to these DIY insulation projects. The wood you used as foundation look very sturdy. By the way, that’s a very lovely color of insulation foam. I’m sure it’s going to be a cute little house.
ReplyDelete**Son Lakhani
Whoever said that you cannot use pink foam insulation on the roof is definitely wrong! I think that depends on the owner’s style and taste. What is important is your roof is protected all the time. The cute part is a bonus. [Lakisha Autin]
ReplyDelete