The house is looking very much like a house these days! I have been working hard to finish the exterior sheathing (which has forced me to decide on where I want all of my windows to be). Below is the Northwest corner. This North side has just a few, small windows for two reasons:
1. passive solar - The sun shines from the south, and so the north side of a building (in the Northern hemisphere) remains in the shade. It's not efficient to have a lot of glass on this side. You will see later on how much glazing (glass) I have designed into the south side, to capture winter sun (yet block out summer sun with roof overhangs).
2. With Part 2 of the house in mind, I don't want to waste my time installing windows in places that are going to end up inside of the finished house footprint.
The aesthetic of the house is looking rather modern, now that the rough window openings are in place. I feel like what has determined this aesthetic is not a desire to be modern, but rather a combination of two things: being restricted by what windows I can come by (that are inexpensive, not ugly, and the right size), and my desire to obtain certain views.
WINDOW BUDGET:
1 Anderson Window - $222 (a splurge for the perfect window in a special spot)
1 small casement window for bathroom - $15
a bunch of window sashes that I will make frames for - $1 each
and free windows collected by me and my parents
I found out the other day that I can order custom-cut window glass (double-pane) at a local store, and that it is not as expensive as I would have thought. So for some of the windows (most notably the small 14”X20” windows that I will tuck into the stud bays between the two roof lines), I will order these custom rectangles of double-pane glass, and then will make frames for them. This will probably add another $600, for everything else I want (that’s a very rough estimate).
So this is easily under $1,000 for all of the windows for this part of the house! I've heard that usually people spend $8,000-$10,000 for windows on even a reasonably-sized house.
DESIRED VIEWS:
When I am inside my ideal house, I want to look out and see beauty. In the country, this is pretty easy. In the city, much of what is present is other houses, power lines, the road, cars, and lawns. Other than well-framed views of other houses, I don’t wish to see any of this. On the other hand, Durham has some fantastic sunsets, and beautiful clouds, and my lot is well-endowed with large trees. These are the things I want my windows to frame!
I like the play between the main roof lines and the much steeper pitch on the bay window roof:
I had a bit of an execution problem with the first round of metal roofing that I bought and transported to my site. The installation wasn't going quite how I wanted. The style of metal wasn't exactly what I was looking for, and the overlaps weren't looking as seamless as I had hoped. After a day of stress and thinking, I decided that it was best to research other options, and stop for the time being. It turns out that a much better product exists for this particular application, so I ordered it, and it should be delivered this week. In addition to being more appropriate for this pitch, it also allowed me to order painted metal (and therefore, a color), and custom lengths (so there won't have to be two end-overlapping sheets for each section of roof). I was able to take all of the original roofing back to the store (other than what I had begun using and screwing down...).
I "re-used" some of the metal that I had already put screw holes in to finish off this mini-roof above the bay window:
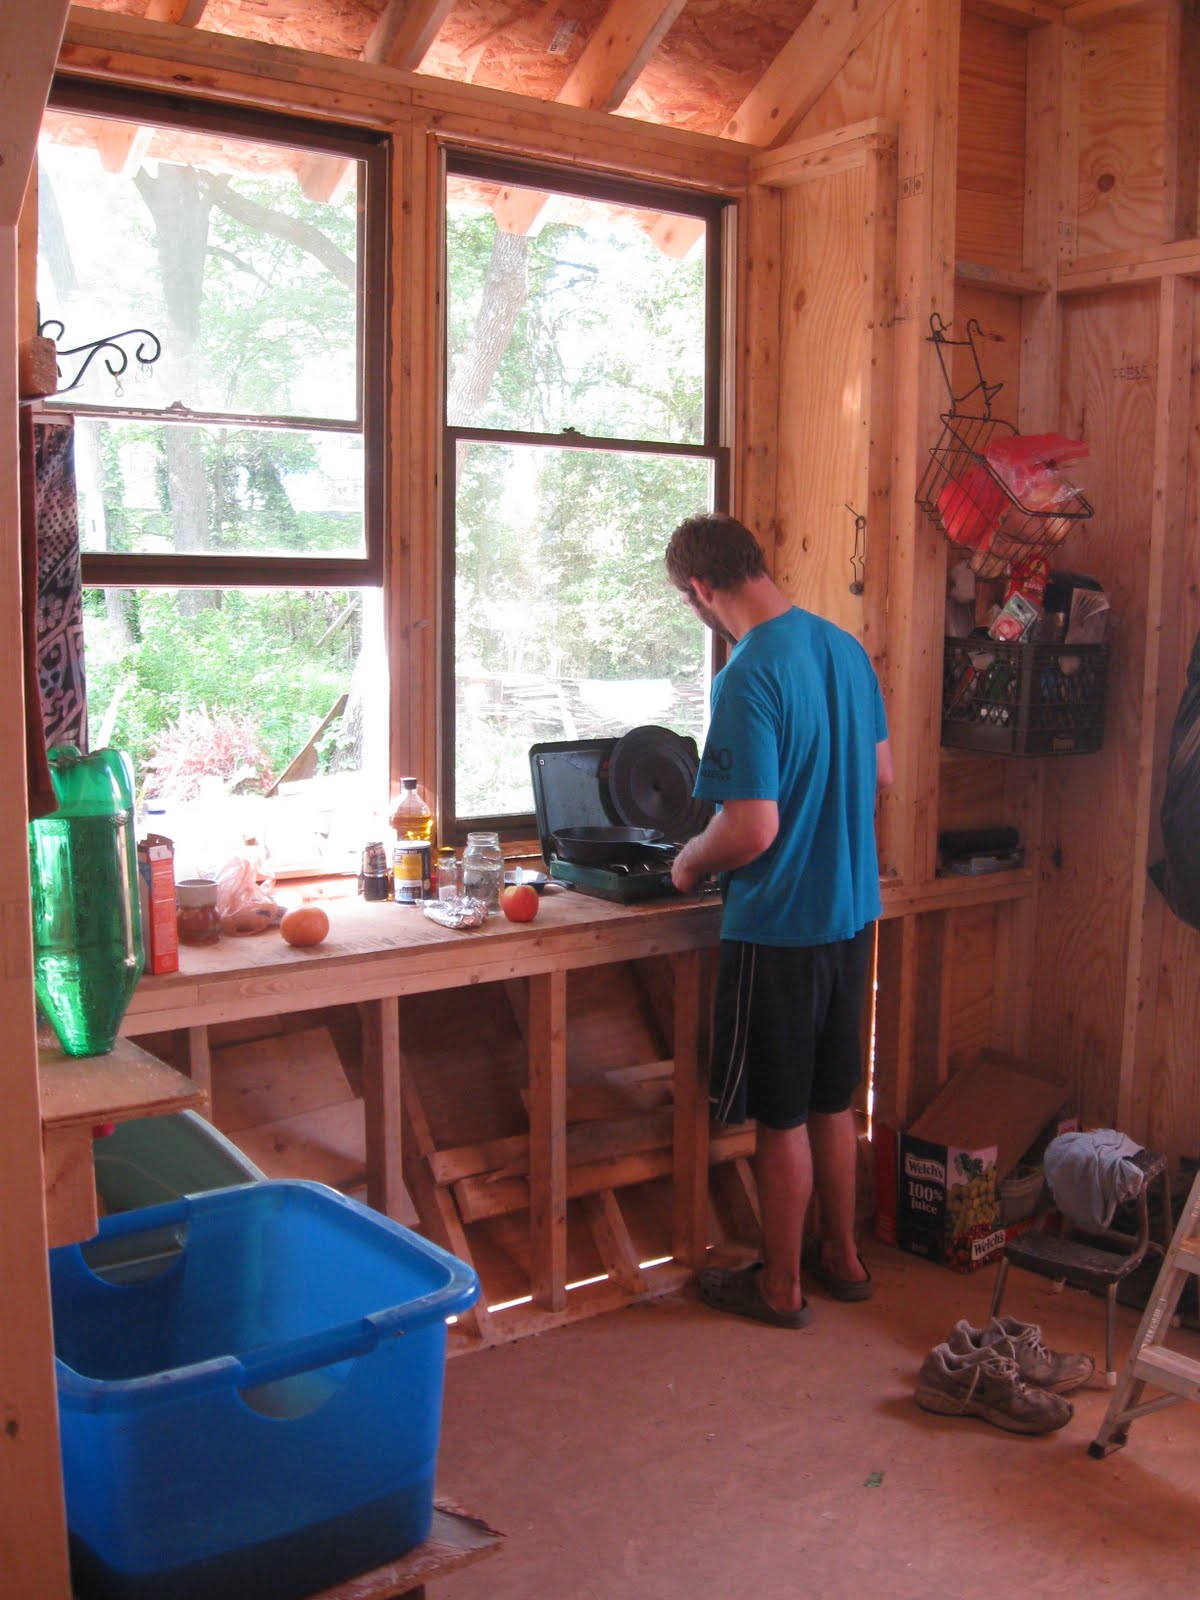
This isn’t the best representation of the view on the West side of the kitchen, but it’s the only photo I have. When moving around the kitchen, these windows will give a great view of the sunset, and also provide an interesting snippet of the roof and gable ridge of the yellow house.
Here are some window locations in the kitchen:
And some of the same windows from the outside:
Here are the layers of the roof, starting above the rafters: 2 layers of 7/16” OSB sheathing, 1” rigid foam insulation (R-5), 1X4” purlins (lumber, spaced 5 inches apart), and then metal roofing on top of it all.
My mother was interested in maybe having me install a solar tube somewhere in the house (
see here). The solar tubes that I’ve seen for sale are really expensive and ugly (they look like something that should be on a lunar rover). I am going to try making “the $1 solar tube.” It’s not really going to be just a dollar,
but the window sash was a dollar, mirrors are free, and I'll have to play around with materials to mimic the "diffuser lens." I'll need some lumber, and other supplies to make it happen. Here's the window opening:
Here I cut away the floor of the loft:
I'm going to install the window, and then install a mirror at a 45-degree angle to direct the light that comes into the window down into the pantry. This should make it so that one does not need to use an electric light to find things in the pantry during the day (obviously at night one will need to flip a switch).
Here is a really nice butcher-block-style countertop (will the sink hole already cut out) that I found at the Habitat ReStore (which is where I've gotten half of my windows, too) for $40. It needs to be sanded, re-finished, and then just cut to the size of the bay window. It's hundreds of dollars worth of wood and time, already done for me!
Today I decided that I want to have an enclosed room in the house, with a door that I can deadbolt - to expand my tool/material storage area to more than just the shed. So I framed out the door to the bathroom, and sheathed the interior bathroom wall with 1/2" plywood:
Then I picked through my pile of doors that I had gotten free when a local salvage company went out of business, and found this one to hang as the bathroom door. The door is in really good shape - solid as a rock. And it already has the hole for the deadbolt in it, so I just need to buy the hardware and install it. Eventually this will be the bathroom, but for now: storage.
I was thinking of putting a big triangle window up here above the bay window, but realized that the roof gets too much in the way of any view. I decided to put just a skinny rectangle window in the left part of the triangle instead. The following photos shows the area framed out, and then sheathed (you can see the space I left for a vertical rectangle window):

The weather is beautiful this week!
Here is the same angle, but with the sheathing complete. This side of the house (the South side, facing the backyard, is looking especially modern, with the long, skinny windows). The doorway in the middle will have a big glass door (already picked out and on site). There will also be a window in the bathroom (on the right side of the house in the photo below), but I don't want to cut the opening for it yet, because I want to use the room for safe storage).
The view from inside the office (the central space). I like skinny windows, whether vertical or horizontal, as they give a really interesting peek at what is going on over a broad spectrum of the world outside.
_____________________________
Here are some older photos that never got posted:
These are the triangle supports that I made to hold up the two extra rafters on either side of the taller, kitchen roof (the two rafters that provide overhang). You can probably spot these supports in some of the photos above.
In thinking about how much weight the center wall is going to bear (with both shed roofs bearing down on it), I doubled up a lot of the studs, as you can see here:
Here's the revised "header" for the kitchen doorway - a double 2X10" on edge.
The 1/2" plywood sheathing on this wall provides a lot of additional support (in addition to doubling the studs).
I love the play of the sunlight through the purlins.