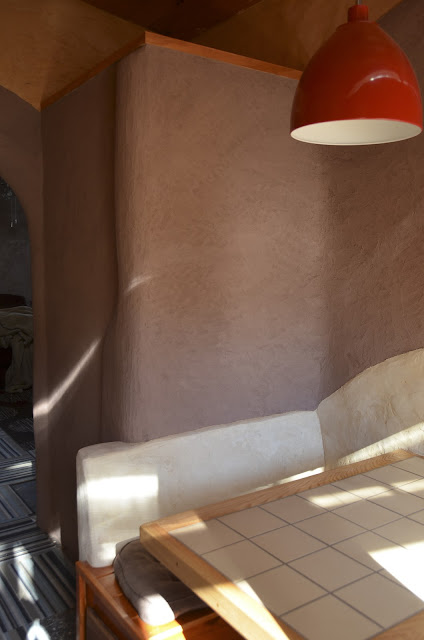
Part two of the house was finished in late November! I've been slow at getting any posts up, but my mother (the current co-resident of the house, along with my father) took a nice group of photos the other day that are worth sharing...
From the sidewalk:
Steps up onto the front deck from the "driveway":
Front door:
My parents call it the vestibule, and I call it the mudroom:
Living room, with a natural gas stove, which is the sole heat source for the house:
The plaster is a mix of purple clay, lime, sand, straw, and wheat paste. It was applied over drywall, which was the first time we tried drywall as a substrate. It doesn't have as much potential for curves (like cob), but was very easy and pleasant to plaster on top of. We coated the drywall with a sandy primer (literally a gallon of primer, with a whole bunch of sand mixed in, painted on with a brush).
I wanted to keep up with the theme of the arches. This is the view from the kitchen nook into the living room. The green door has a tiny closet behind it:
And in reverse... looking into the nook from the living room:
Some more photos of the built-in booth seating:
Into the kitchen!
The cabinetry was crafted by Jeremy Curtiss, a friend and woodworker from Philadelphia:
If you bring your mind back through the house into the living room, you would find another door which leads to the bathroom.
I'm sure I've posted photos of the shower before, but here are some more. It's quite a pleasure to use this shower, with so much natural light, and so much room to stretch (or sit, if you wish):
On to the back porch:
And back out through the gate, onto the driveway. The wall you see is a strawbale/cob wall with cedar shakes for the roof:
"Leo's Cottage" also got an update recently, with some fresh paint, and a new lime plaster!
What a beautiful sunny day in Durham, NC:
There is still another addition to be built. The permit is being processed right now... The cob floors for the whole house also need to be installed, but that will be the last step, sometime in the late spring.


