Monday, November 8, 2010

Danielle's Cob Tower

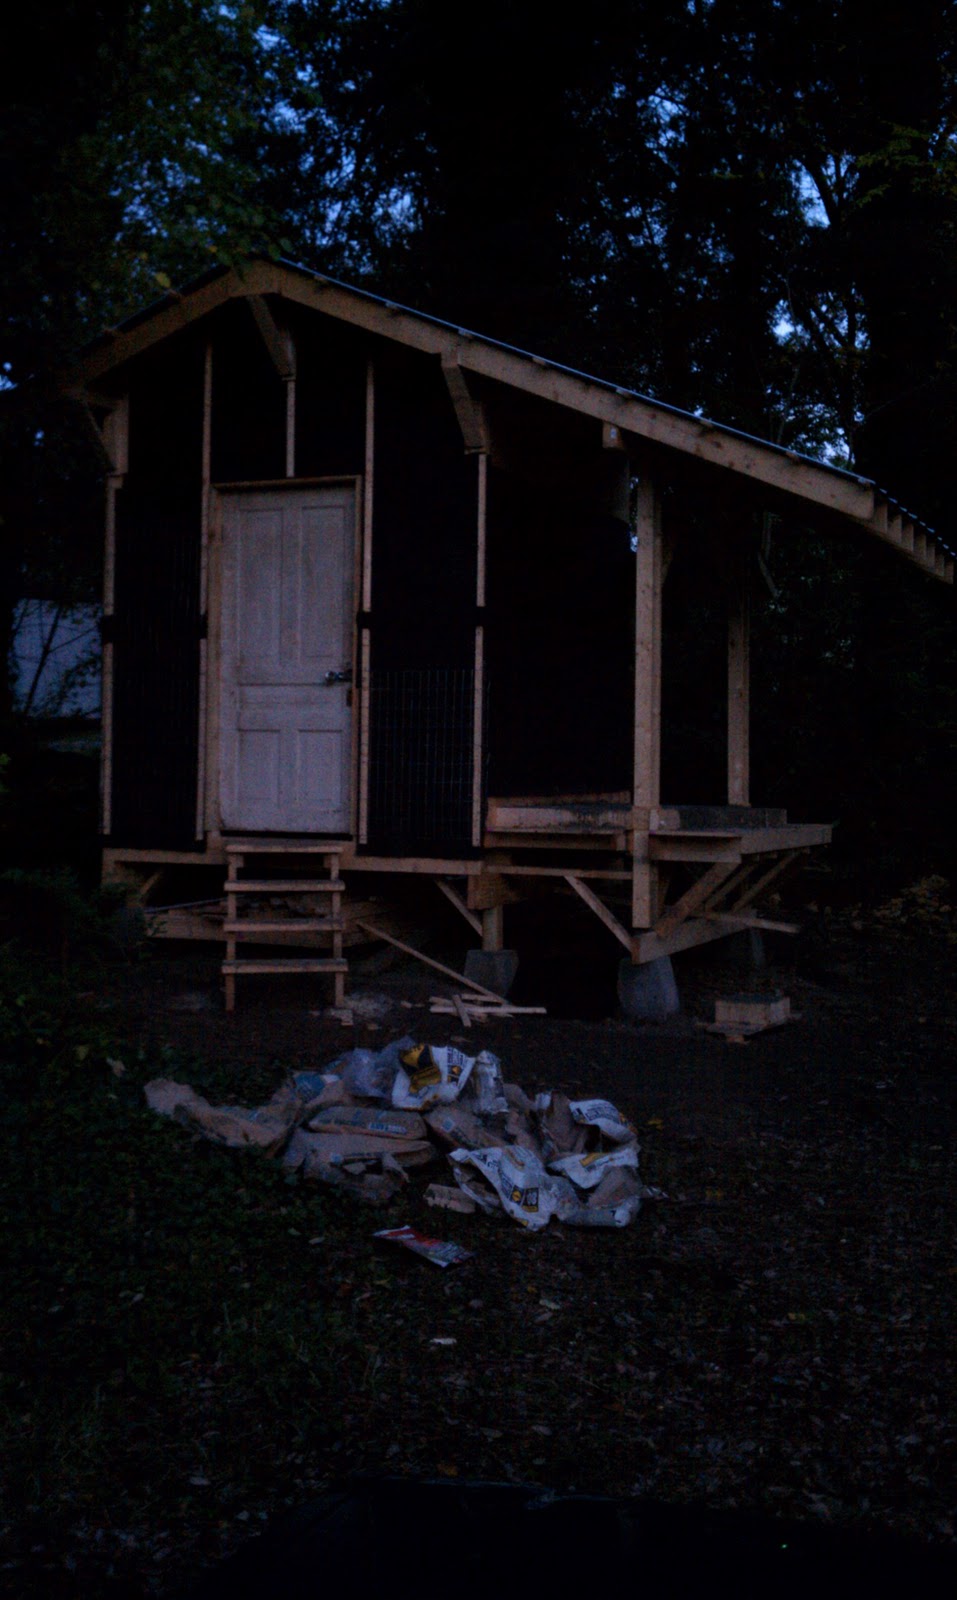
I have a friend, Danielle, who is almost done building her cob tower. And because it looks so incredibly good, I will go ahead and mention that Danielle learned everything she knows about cob from taking the workshop that Mike and I taught at Pickard's Mountain in May of last year. To be fair and genuine, Danielle has taken the little knowledge that the workshop imparted upon her, and added to it a whole wealth of creativity, drive, and an innate understanding of how to sculpt with her hands - especially impressive for someone who is smaller than my mother. The interior dimensions are roughly 8 1/2 X 8 1/2 feet, and - yes - it is two stories.

I spent today helping to build the roof. I didn't get many photos, but Danielle did (she mostly played the role of manager today, on the ground, making sure that her vision was being properly imagined by her willing workers), so I'll put up some more photos when I get them.


the South side of the house:


All the built-in exterior stairs are for her cats. The steep shed-roof that you see coming off the side of the building on the right will eventually be covering an outdoor bed (the second floor is also a bedroom for winter nights when outdoor sleeping is out of the question):


These are our rafters. THICK! They were harvested mostly by Danielle's husband, Noel, from their forest. They are tulip poplar, which is known as having very straight trunks. They shaved all the bark, and we rounded the ends of each rafter before putting it up.


Getting the ridge beam up was particularly fun. It took the full strength of 8 or 9 people to carry it out of the forest, and then a series of brute moves to get it up onto the roof and set into place.

We got about halfway done today, and I'll go back later this week to finish the job.

Cottage Update

My friend and building partner, Mike, came to visit Durham this weekend with his girlfriend, Jessica. The two of them will (hopefully) be moving down here in May to stay for at least 6 months so that Mike can help me build the house for my parents (and Jessica is a massage therapist - a great connection for any building team).

Mike and I built the cottage at Pickard's Mountain together 18 months ago, and so we stopped by to see how it was aging. The foundation, plaster, and roof were all looking in really good shape.


The area that needs attention is the windowsills on the south side. We put a lime plaster on the sill, which you can see is holding up really well. But we should have extended the lime around the edge further, because the earthen plaster (which is less durable) is wearing away right where the two plasters meet. The black lines are the shadows from a string trellis that Margaret built in front of the south-facing windows for beans to climb up - the idea being that: 1. she likes beans, and 2. the bean plants will shade the window during the hot summer, and then die off and let sunlight in for warmth during the winter.


You can see how the earthen plaster is weathering near the bottom of the wall. This isn't a bad thing. It's just how it goes. A new plaster should be applied within 4 or 5 years (or sooner, for aesthetic consideration). You can see why it's a good idea to plaster over cob - not just for looks, but as a barrier to take the force of the weather, so that the structural cob doesn't have to. The cob underneath is staying dry and in perfect shape, and will continue to do so for at least 860 years, when the foundation might finally fail.


A roof for Mia's oven

My friend Mia has been wrapping a blue tarp around her earthen oven between uses for months, and it was finally time to put up a proper roof! Luckily, it was built right between the end of a fence and a random post, so I didn't even have to spend the time to set new posts in the ground.


I screwed in some bracing between the existing posts:


Built the basic gable on the ground:


Lifted it up:


And then installed purlins and metal roofing (and some extra roundwood bracing for stiffness):


Tuesday, November 2, 2010

Cobbing the shed

 Over the past 3 or 4 days, I have been applying a 2-3 inch layer of cob around the exterior of the shed! It's gone quite well and will add a lot to the aesthetic, as well as closing in all of the gaps the air has been getting through. I really enjoyed doing cob, after having done carpentry for a couple weeks. It's always nice to change building mediums. It's especially nice that cob requires very few tools, so the frustrations of forgetting a tool at my sister's house, or not being able to find something, or leaving a hammer in the truck, or forgetting to charge my screwgun batteries... those worries have been thankfully missing from my mind! Just a mattock, a shovel, buckets, my hands...

and a mortar mixer. Once again I decided to rent a mixer, instead of doing it by foot. And I can't say that I have any regrets, for four reasons:

1. the clay soil I am using is from a pile a couple blocks away behind an abandoned house - and it definitely has broken glass, old nails, broken brick chards, and other sorts of sharp things in it - things that I don't want embedded in my feet. The mortar mixer allows me to value this soil (which other people have not been valuing over the past 20 years) and put it to use.

2. It's getting chilly out, and having my feet in wet cob all day is overwhelmingly unappealing.

3. The mortar mixer can mix faster than I can. It's a good tool for a one-man cob show.

4. Upon reflection this summer, I thought that I was getting jaded with cob (and ready to move on to another job or another material). It took me a little while to come to the realization that I am not at all tired of using the material, it's the foot-mixing that is getting old. I've only been a cobber for two years, but I've mixed A LOT of foot batches. What I really have enjoyed is applying these mixes to walls, and sculpting with them. When I run out, and realize that I need to mix more, it ruins my high.

With the mortar mixer, I mixed a whopping 30+ batches in one day (using less than 2 gallons of gas, and spending just $60 for the rental). This allowed me to spend the weekend, and the past two days, just putting cob on the wall. No mixing. I mixed some of it wet so that it was easier on the drive belts of the mixer, and so that it would stay workable for a number of days without drying out (which it has - I still have some left over and I'm guessing it will still be usable for another week without adding water, since I have it wrapped tightly in a tarp).


Here's my mixing station. Piles of sand on the right, clay soil in the bed of my truck (I had to keep driving two blocks to re-load), and straw next to the mixer:


Cob:


The first batch on the wall. This was what allowed me to make an estimate of how many batches I would need to do total to have enough for the whole exterior:


I really like the look of the texture that hand application leaves. This texture will help give the finish plaster something to grab on to:


Heavenly light on the entrance:


You can see the stack of fire-bricks underneath the concrete countertop. These will act as the floor of the cob oven (once I finally get around to building it).


Collecting bricks:


Storing the rounds of wood that I cut up when initially clearing the spot for the shed, to be used as firewood in the oven someday:


Storing the forms from the various concrete pours, to be potentially screwed back together and use again for something down the road:


The leftover sand and screenings will come in handy later on for plastering, as well as future cob. The horse manure at the right of the pile will be good fertilizer for the garden (it's been sitting there since June):


In the top center of the photo is a little wall that I created by just suspending the metal fencing and cobbing around it from both sides. There's no lumber framing.


A side view of it:


Today after finishing up the cob, I decided to do some site cleanup: organizing the materials being stored under the shed, picking up used concrete bags, collecting my leftover cob into one neat pile, folding tarps, organizing inside the shed with nails on the walls for tool hanging, and so on. I really like how many trees there are around the lot:

Thursday, October 28, 2010

Small visitors

I have trained my nephew, when he enters the shed, to proclaim: "wow, it's big in here!" 


It is inexplicably satisfying to remove the forms from around a concrete pour. It turned out great! And now it's a great work bench while construction continues:


 I am really starting to like the aesthetic of tar paper and firring strips. The contrast is great, and there is something very transparent about it. I am almost questioning whether the cob + earthen plaster will look as good when it's done...


 Little by little, I've been nailing metal fencing to the sides of the building, spaced about an inch away from the wall. This is the framework onto which the cob will hold.


 There are a lot of custom cuts to make it fit right...


Here is a void that I want to fill with cob, as an extension of the wall - for more oven protection.

Tuesday, October 26, 2010

Concrete Countertop

The title is a bit misleading, as I wouldn't call this a true concrete countertop experience.  Most of the concrete will be covered by an earthen pizza oven, and the rest of it will just be left rough - no finishing with stains or sealants. 

I had a lot of fun designing the form for the concrete pour. The shape includes a hexagonal-ish extension, onto which the circular cob oven will sit.


I tied all of the rebar together with metal wire, and then raised the rebar up 2 inches using pieces of rubble:


After the pour:


The countertop extends past the sheathing and into the building, where it rests a lot of its weight on the floor joists. Here you can see it inside:


I had some leftover concrete, so I built a quick 8X8 box into which to pour. It will be a neat little block to use somewhere later on.


I am wrapping the house in tar paper, and then attaching metal mesh to provide an attachment point for a 2-3 inch layer of cob. The entire building will get this treatment, and then be covered with cob; a beautiful earthen plaster will be applied once the cob is dry. The tar paper is to avoid any problems with the cob drying out/ruining/warping the thin plywood (which I don't think will happen, but I can't afford to find out).


The combination of tar paper, firring strips, and the setting sun make the building appear very skeletal:


Losing small tools, like drill and driver bits, is inexcusable. The six dollars that I spent on this case provided me with six dollars worth of joy within hours of using it! After having spent almost two years building with as few tools as possible, I find myself in a good position to now select what is truly worth having, and what is extraneous.