
The house is looking incredible:
I love the exterior steps. The boards extend all the way through the wall (18 inches), and feel amazingly solid underfoot. I go up and down all of the time without worry.

Here is the little porch to which the exterior steps lead. It can also be accessed from the second story room, through the tiny doorway that you see.

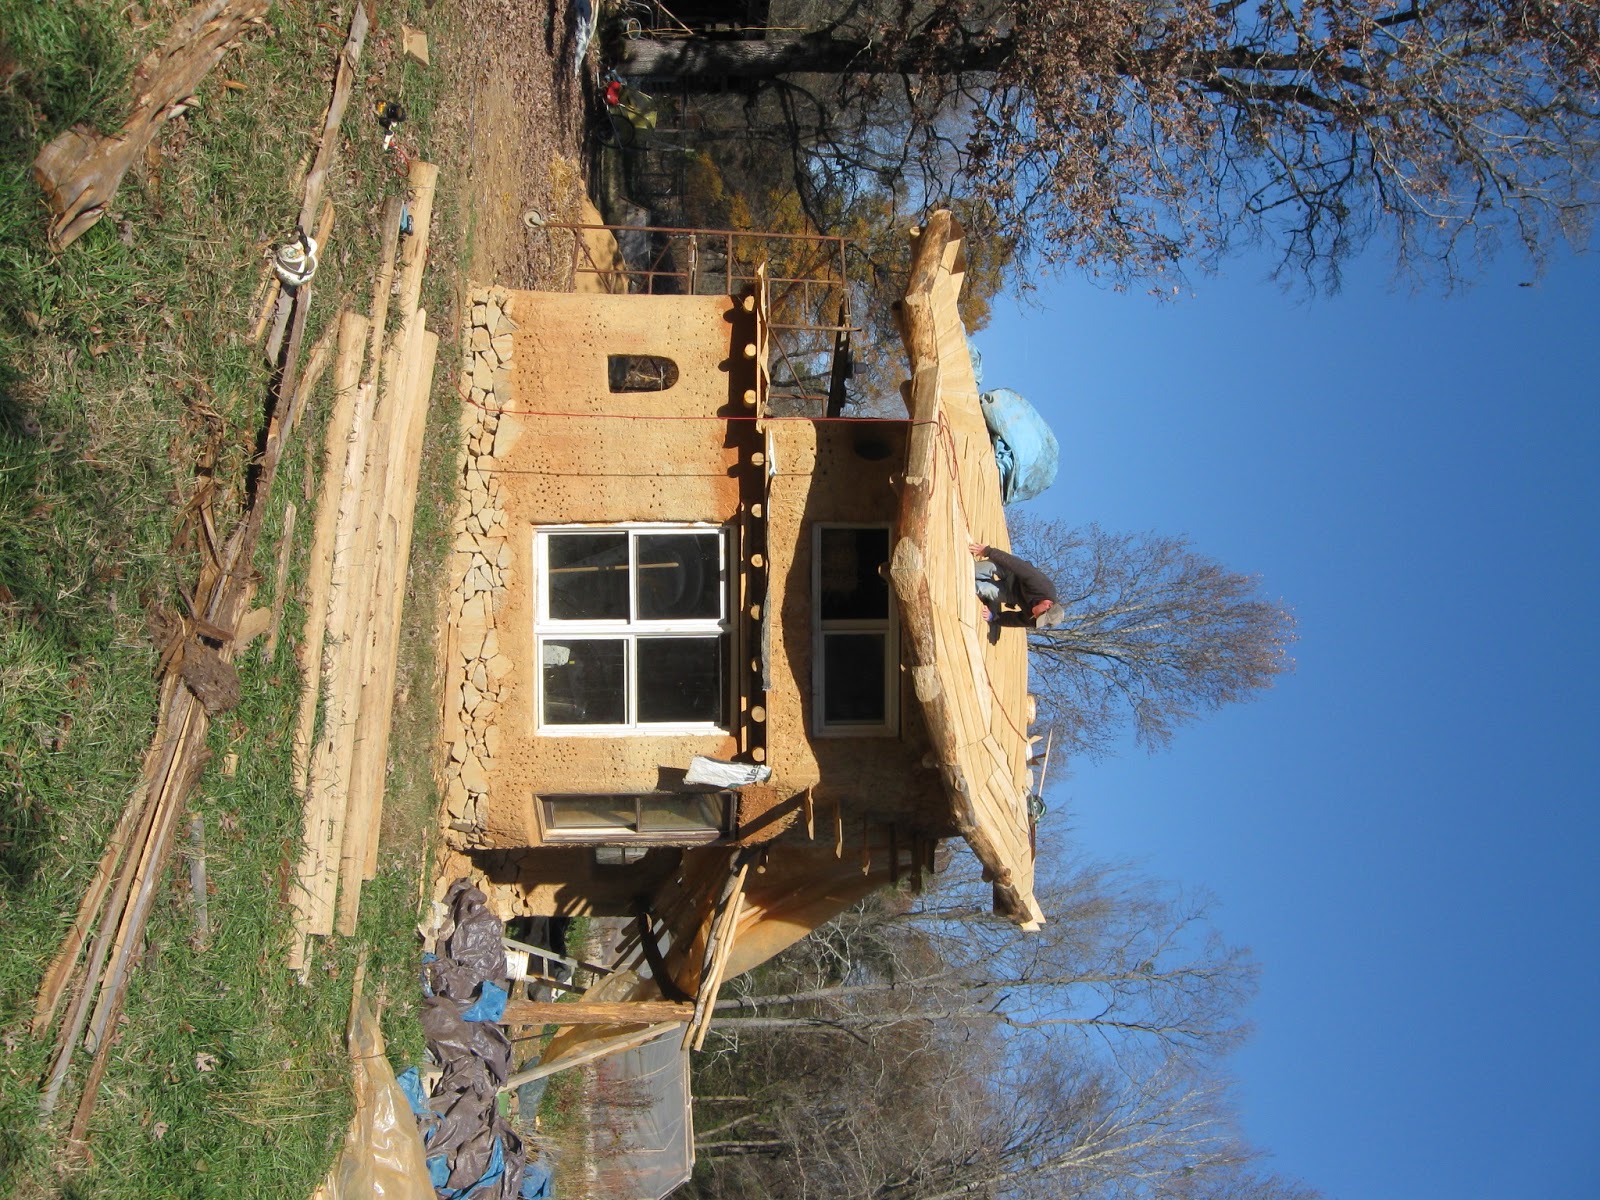
Most of what I spend my time doing this past weekend was installing fascia boards. The fascia boards follow the perimeter of the roof and are what provide a barrier for soil to rest against (it's going to be a living roof). There are some important details that Danielle and I dreamed up, that make it a very solid green roof solution (we hope). The first element is the triangles, which you can see below. There is one for every rafter, and they are secured with screws down into the rafter.

Each fascia board is measured, cut, and then attached from one triangle to the next. The hard part is maintaining an aesthetically pleasing flow from one board to the next, to the next, to the next.

Here you can clearly see how the triangles hold the fascia boards about 1.5 inches away from the edge of the decking. This is so that when water gets onto the fascia and rolls around the face of the board, it won't then be able to continue rolling onto the decking, but will instead drip to its death. As a living organism, I love water. As a builder, it's terribly frightening.

Because the fascia boards are all scrap cutoffs from a neighbor's barn project, there was little continuity among pieces. I had to do a lot of custom chisel work to get the boards to match up (you can see the big chiseled oval shared by the two boards in the photo).


All the roundwood looks incredible! The lower, secondary roof that you can glimpse under the hanging plaster is going to be a roof over an outdoor bed, and still needs to be decked.


 |

This house rocks. I'm looking at building a cob house in Atlanta... yes, in the city. Who knows if it will be possible.
ReplyDelete