Thursday, February 3, 2011

UNDERBELLY

In order to get a building permit for PHASE II of the house (the cob/strawbale/post-and-beam phase), I will need to submit my plans to an professional engineer so that he can consider whether it is structurally sound and - when he deems it so - can imprint his stamp of approval onto my design.

For the past week, I have been home-bound, due to a finger injury incurred by a Japanese pull-saw. It cuts very smoothly on the pull stroke. Right through the wood, and then quite a bit past it, I discovered (see photo at bottom). My time away from the work site has given me a chance to work on my plans for the engineer. I expect that the four main components that I will be justifying to him will be:

1. post-and-beam framing

2. rubble trench foundation (a concept that is thousands of years proven, popularized in the states by Frank Lloyd Wright)

3. strawbale infill walls (as insulation)

4. green/living roof design


Last night I was playing around with the layout for the post-and-beam framework. It's important to understand that I have not represented the ground in this model. The man is not floating on a deck, he is standing on a brick entrance porch (equal to ground level):


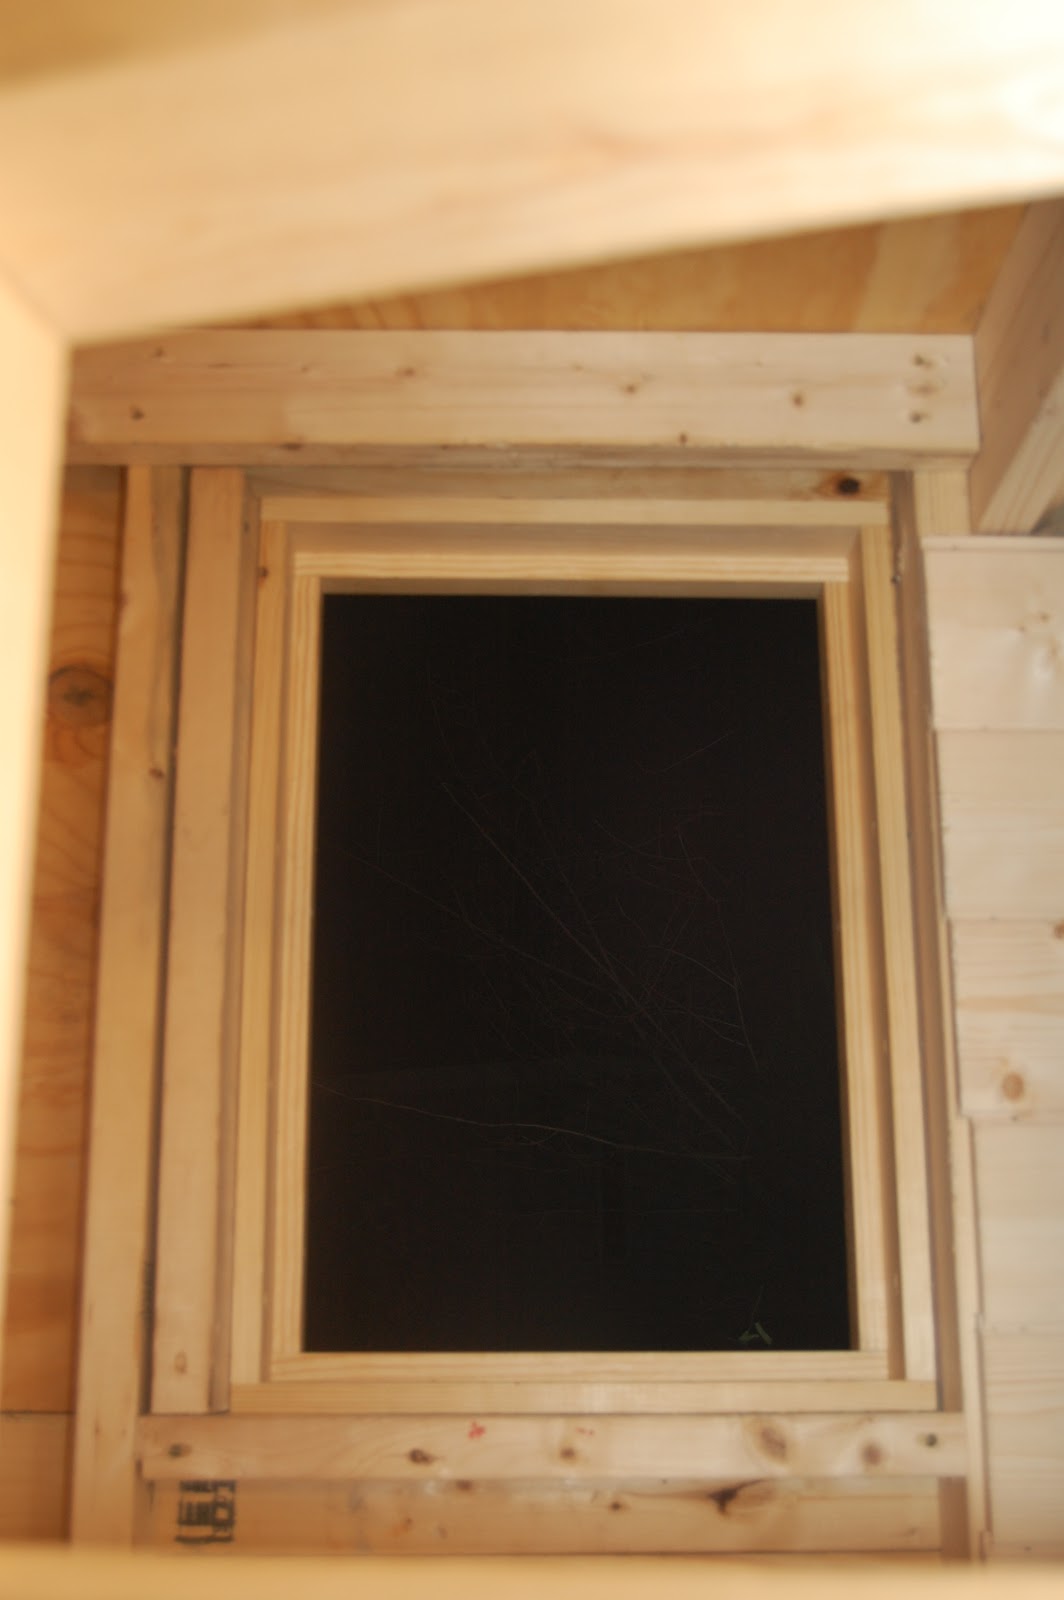
I especially love the view from the bottom, like looking at an insect from underneath and realizing how delicate the structure supporting its exoskeleton is.

The underbelly shots:


And the finger:


Tuesday, January 25, 2011

Neighbors

I enjoyed some company nearby today, as Ken and James were working on 604 Carlton (you can see them off to the left). They were tearing down some of the rotted lumber off the back of the house...


...and starting to put up new siding. At one point I was thinking that I should convince my parents or a rich friend to buy this house, in the hopes of flipping it with natural materials. Eventually I decided that it would be too daunting of a project. The photo below describes to me why I made the right decision - it looks more like a 5-year-old's collage than a house. I wouldn't know where to begin. I'm excited to see it when it's finished and back on the market!


Looming over my tiny foundation pad is Mrs. Leathers' blue abode. Mrs. Leathers has been in this same house for 60 years, and raised 12 children in it. She's a very sweet, wise Southern lady. She was proud to announce that she just turned 84.


Here's the crew, from left to right: mason's hoe, trenching shovel (stuck upright in the grass - a real beauty! all-steel body and a lot of character in its dents and dings), square shovel, spade shovel, and an axe-mattock. My wheelbarrow should be in the photo to truly complete the family.


There have been several big purchases I've made in my life that have seemed unjustified upon reflection. These were all during high school or college. Oddly, they all seem to be about $200. An MP3 player that I used maybe 10 times. An all-in-one machine that failed to work properly. And a kick-scooter for adults ("the Porsche of kick-scooters," claims the website). The electronics purchases will forever mar my fiscal soul, but I'm glad to announce that my scooter is finally justifying its existence in my world. I commute back and forth frequently from my sister's house, which has a bathroom and kitchen. It's about 3 blocks. Too close to drive. Not a bad walk, but it gets boring seeing the same 3 blocks multiple times every day. Perfect for the Xootr! I find that I do sometimes get stared at like I'm driving a Porsche, especially when I crouch down like a child.


I hit a big pocket/layer of very white clay today. You can see here the contrast with the red and yellow clays that I've been mostly seeing. If I had known I'd find so many different colors, I would have done a better job of keeping them separate.


Monday, January 24, 2011

Excavation Videos

 Stump Removal (this was a very anticlimactic experience)


Why Digging by Hand isn't Completely Ridiculous, in Three Minutes

Rough plans

Here are some quick jpegs of plans thus far.

Phase 1 (which is the part that I have the permit for):


Thinking about the foundation, as layers of gravel (dark gray), poured concrete (light gray), and aesthetically-pleasing brick (red).


A basic idea of what the final house might look like. As is obvious, I haven't quite flushed out the details of the roof (or any details, really):


Diggin' it.

Upon returning from a trip to Guatemala, I found out that my building permit was approved by the city, and so there was only one thing to do. And I've been doing it ever since. Digging, digging, digging.

Like with all of my previous cob projects, the first step was to translate the footprint of the house/foundation from my paper plans to mother nature's belly. Because I had been required to be very specific about how near the building was going to be to the property lines, it was very easy to chart out where I should start digging. After beginning to mark out the boundaries of the foundation with bricks, it became very clear that step one was going to be removing the double-trunked tree that you see in the photo below.


I had previously spent quite a bit of energy and emotion worrying about this tree. I went as far as to re-design the entire house around it, so that it would become a feature, rather than a memory. However, I later consulted a landscaper/neighbor, Sheldon, who informed me that it was a Box Elder, considered to be a weed tree in this area. I happened upon a chainsaw quite unexpectedly, and took it down minutes after marking out the foundation. It was added to my pile of firewood, below.


 Quite interestingly to me, as I arrived at my site a couple days later, a guy named Joe was backing into my driveway with a Ford F-150 and an attached trailer. He was laughing as he bounced over the curb and his truck jiggled like it was having a seizure. He saw me on my kick-scooter and said "how ya doing?." I told him "fine," and asked "what are you doing?"
 Joe: "Well, it looks like this here lot is abandoned, so I'm going to get that stack of wood into my truck and take it back to my cousin. He is over 500 pounds, and can't do it himself. And he doesn't have any wood ready for winter, and it's cold."
After a bit of explaining about how unabandoned the lot actually is, I decided that since I didn't actually have plans for the wood, and because he came across as a jolly fellow, he could take what he needed. One less thing taking up space in my chaotic yard! So he stuck around for quite a while, alternating between loading logs, and asking me about my project. He was a nice guy to talk to, and told me that he'd be willing to bring me trailer loads of gravel later on for my foundation if I needed it, for a discounted price. He was amused by my choice to excavate by hand, and exclaimed that he wished he had brought his camera to take photos to show his wife.


Removing the topsoil:


(rather cute) Child labor shot #1:


 (especially cute) Child labor shot #2:


Here's the underside of the stump. It was resting awkwardly on a bed of sand and some loose bricks, and so was very easy to yank up. You can see all of the bricks that I've been digging up, even just in the first 6 inches of topsoil. The house just past my truck is owned by the same neighbor, Ken, who sold me my lot. He just began fixing up the house, with plans to sell it later this year. It will be nice to have it occupied - it's a very good-looking house, in need of a lot of work!


 Here's a good idea of the lay of the land. There will be quite a good-sized backyard. Hopefully big enough to accommodate my mother's dream of having a complete forest ecosystem to provide animal habitat (and block the sun from getting to the passive-solar house that I'm building...).


The sandy roots from the stump:


 I've been finding a good amount of sheet metal in the ground. This crumpled piece was lodged between a tangle of stump-roots. It's annoying to dig through, and unpleasant to find, but is beautiful in its own right:


 In the beginning it seemed as if every other swing would find my pick stopping dead against a brick:


 Down into the clay layer! Leveling a pad:


 A friend, Nick Fox, came to help for an afternoon and asked "are you going to keep digging the whole pad to this level, or will you step it up a bit (to account for the rise in ground level - and save on digging)?" I hadn't planned on it, and said "nope, same level." After he left, I thought to myself "why would I do all of that unnecessary digging, if it's just going to be a tiny crawl space anyhow?" So here I am, scraping down a sharp end to the first pad, before digging into level 2. Thanks, Nick!


 And here is what it looks like as of today.

Wednesday, December 15, 2010

Winterizing the Cob House at Eno

As I approached the field, I couldn't quite decipher the hairy blob sitting alone in the middle of it. An animal? A big ball of cob? An enormous ball of snow holding out from our wintry weekend earlier this month?


The stove pipe exits the NE corner of the building which is, ironically, where the icicles form. That awkward hole will be re-filled with cob and plaster someday.


I had some fun with the interior plastering last month. Here's the branch:


.... and here's the trunk. It went from being an abstract shape (that Elizabeth thought looked too much like cartoon side-burns) to a possible bird swooping in, to a snake head, to a tree.


Sinking bricks into the finished floor:


Floating pieces of slate atop the bricks:


A magical pad for the wood stove! Hovering, like a shaman might do.


Some finish trim at the top edge of the window to close up the 1/4" gap (that had been left to allow the house to settle without stressing the glass):


And here's the "double-boiler-with-a-lid" setup that we devised to heat our linseed oil for the final floor durability treatment. I've applied one layer of oil to the floor - three more coats tomorrow, each getting more and more thinned out with mineral spirits.


Sunday, December 12, 2010

New Window

 I've been working on the shed quite a bit lately (and with more decadent materials that I ever anticipated using!), in order to make it into a very usable computing/drawing space and a pottery studio, in addition to accommodating tool storage. I was building my office alcove the other day, made mostly from unwanted Ikea furniture and an old bookcase, and decided that I needed another window. This wasn't because there was too little light, or that there is a particularly nice view in any direction, but because I had a vision of a window sitting in a specific spot, and it looked very charming in my mind. It was both intimidating and exhilarating to bash through the wall and form an opening. This is certainly not the most artistic set of photos, but it gives you the idea...


 I used a circular saw to cut through the plywood and create the initial rectangular void - the black that you see is the layer of tar paper that I put up prior to the cob.


The beginnings of a new window, after having started to scrape/bang/knock bits of cob with a claw hammer:


This is after I pulled the tar paper off, and you can see the vertical 1X2 (to which the metal fencing was secured) and the underbelly of the cob.


It was amazing how sturdy that 2" layer of cob was! I wish I had a video of how difficult it was to get through even with all of my strength and a hammer at the end of my arm. Having the metal grid embedded inside made it into a super-material.


I already had a piece of glass picked out for the window, and it required that I widen the opening in both directions a couple inches, and so I had to use a keyhole saw to do this (this is as big as I could get with the circular saw before the studs got in the way).


Here is the main frame for the window.


And here it has been installed, with a second perimeter of trim, too. After this, I installed the glass, and a finish perimeter of interior trim to hold the glass in place, but before that point I had to run the camera back to my sister so that she could properly document my nephew's yearly visit to see Santa Claus. More photos soon of the finished window!