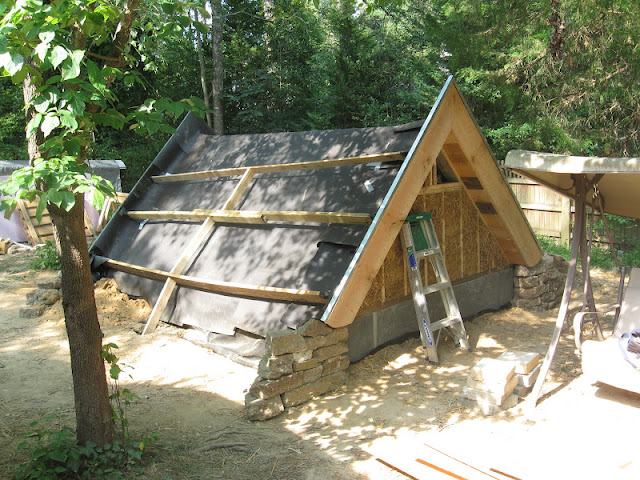
A couple of weeks ago, Mike and I ran a workshop here in my backyard in Durham. It was a great success! We hadn't run one since 2009, and weren't sure how the urban setting was going to work out, in regards to fostering the right atmosphere for a cob workshop (comfortable, peaceful, inspiring, beautiful, etc...).
We had 3 people camping in the backyard, which made for a very real and enjoyable sense of community through the mornings and into the evenings. The rest of the students commuted each day. The mix of people was wonderful. A good balance of older and younger, male and female, artist and computer geek.
Our chef, Julia, cooked all of our meals here from scratch, using fresh produce from the Circle Acres organic farm in Chatham County. Food can make or break a workshop, I think. As peaceful as we try to keep things, we also try to fit as much as we can into the 7 days, and so everyone ends up pretty exhausted each day. Good food makes this okay.
The building we worked on does not yet have a definite function. It could be a meditation room, a bath house, an artist studio, or a whole host of other things. I can see it as a functioning outdoor kitchen, or a space within which to build a ferro-cement swimming pool, or a tool shed (but we already have enough of these), or a sleeping hut (but we already have one of these, too). It could be a playhouse, certainly. I will figure this out with my parents, who will be visiting soon.
Photos...
Here is our fire circle area, around which we shared meals and building discussions. Campfires happened each night, as well.
The panes of decorative, privacy glass have been sitting around for a year now. I picked them up at the curb downtown last year, knowing that they would be perfect for something. We had the building lit up with candles one night, and it looked incredible to see the candlelight through the glass. During the day, these windows let a nice quality of light in, without the harshness that can sometimes accompany direct sunlight (they are positioned on the south side).
Leo enjoyed spending some time with Salame, a 15-month-old girl who participated some of the days with her parents, Jeff and Faye. Cob is very kid-friendly. Safe, non-toxic, and requires few tools other than your body.
Having a "cob toss" is a great way to get material from the mixing site to the building. Everyone lines up, and balls of the cob mixture are thrown one at a time down the line. Here is a unique photo that Danielle captures of our synchronization. I guess it's obvious that Mike and I have been building together for 4 years now.
View from the porch of the house:
Getting everyone up on scaffolding, as the walls grow.
We built strawbales into the west wall, as a demonstration for interested students. "Balecob" is a great method for utilizing the two materials in harmony and combining their respective thermal properties in an elegant, clever manner (bales on the exterior, and a thin cob wall inside of them).
The tiny carrot-sized cobs that make up a cob arch are strapped back over one another to create a "muscle" and/or "beak" of cob. The arch is built over a period of 3 or 4 days so that it can dry out slightly at different stages. Trying to build it up all at once would result in it toppling over from too much weight overhanging open space.
If you look through the arch, you can see Leo asleep on my back. I realized after a couple days that I could get him to fall asleep every time I mixed cob, without fail (assuming he was sleepy)! He is not an easy guy to get to sleep, but the "dancing" that is required for each mixing must have soothed him into dreams. He would continue to sleep on me as I built, for hours sometimes. This reinforces my belief that babies are meant to be with you as you do your daily work.
Here, Nathan is experimenting with using black topsoil as a binder in an earthen plaster (instead of clay soil). I never would have thought to do this, because natural building convention is to keep organic out of your buildings and in your garden. It seemed to work fine, thought! Maybe it had more clay in it than we thought. And a beautiful, rich color. Workshoppers always come up with new ideas that I would never think of alone - that's one of the greatest things about a workshop - it's an incubator for new, inspired ideas.
On the final day of the workshop, we set a roundwood ridge beam on top of the walls. It is maple, and had been harvested days before from the farm in Chatham County. It was a meaningful way to end the week.
The experience was incredible for me. It's amazing to watch people become empowered with the simplicity of cob. After 7 days of building, students were itching to get to their land and start building their house. One of our graduates is already in Tennesee building. And Jeff and Faye are moving to Idaho by the end of the year to build their cob home.
I was impressed by how much building we got done in just 7 days! Thanks to all who participated, and to Danielle and Leo for taking the photos.


