
A couple weeks ago, the house was fully-sheathed with plywood, and ready for siding and windows...

Because the bay window in the kitchen turned out so well, I decided to also bump this west kitchen window out a foot into open space. It gives a really nice feel from inside to have this little window nooks. It takes away the feeling of two-dimensional flatness that is sometimes an unpleasant side effect of stud-framing.

Time for tar-paper! Notice how Tunk is frustrated at his lack of motor control, and therefore his inability to help measure.

The tar paper acts as a barrier to keep water out, if indeed any water makes its way behind the siding for any reason. It's performing the same function as Tyvek house wrap, but seems a bit more classic and much less offensive (who wants their house to be an enormous billboard advertising a plastic company for a week?).

Below you can see the custom-cut double-paned glass that we ordered from a company downtown. It arrived on a glass truck, which was exciting (my nephew would have loved to see it!). Jeremy and I were actually pretty frustrated with some miscommunications with the glass people (about exact dimensions and fit), and so a really exciting day turned into a particularly stressful one, with caulk all over our hands and clouds in our eyes. But after some quick design work, we made some changes to our plan and were able to achieve success.

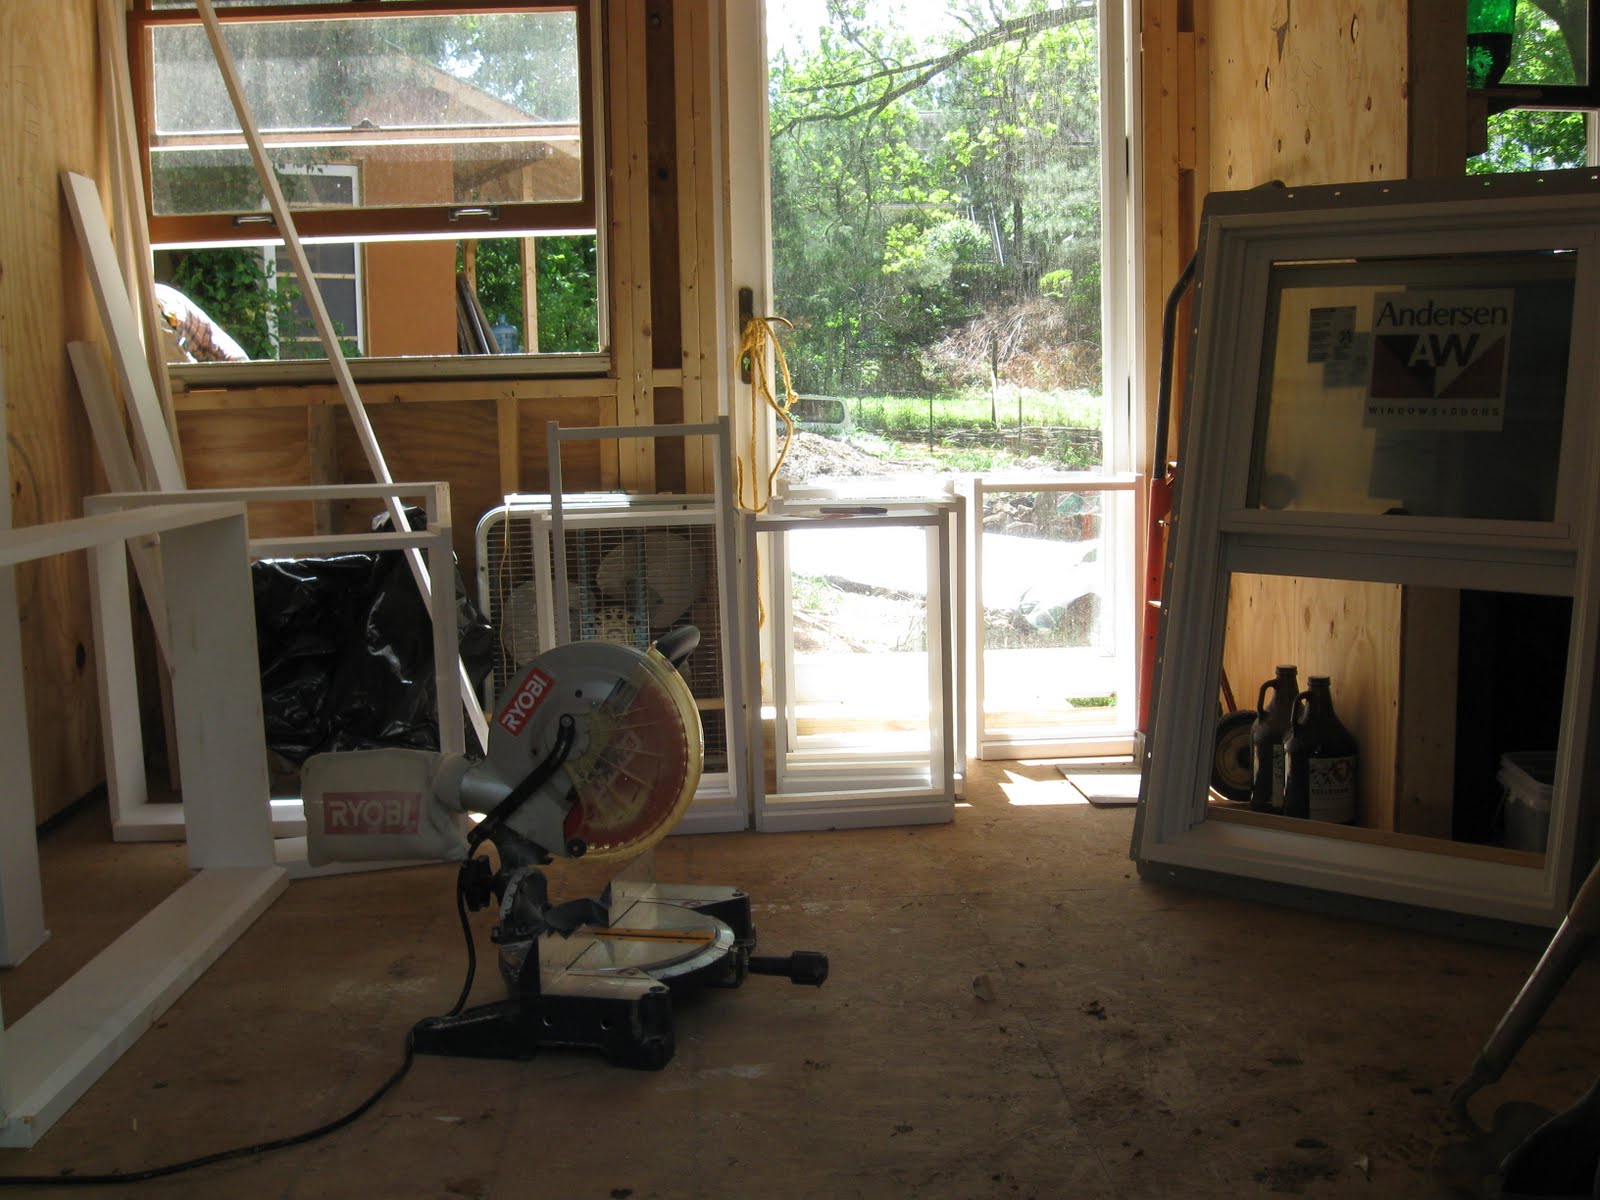
A horrible photo, but the only one I seem to have of some of these windows installed in the clerestory:

Tar paper almost complete...

West kitchen windows installed!

Long, skinny windows installed:

Here is a little detail of where I added three big lag bolts (where the tar paper is ripped), connecting securely the final two 2X10 floor joists (for added strength at the corners of the cantilevered floor). You can also see the little blocks of wood we used to shim the siding out to the to the same plane as the exterior sheathing (there was no plywood sheathing over this one end joist).

Our German-lap pine siding had been sitting in the middle of the backyard for over a month at that point (protected with tarps, but still in the way). It was very exciting to begin nailing it to the building... (check out the "urbanite" dry-stacked foundation wall in the background).


Like the shims in three photos previous, old shingles here are used to block out the three bottom pieces of siding to the same plane as the exterior plywood sheathing. It's hard to explain what I'm trying to say here. But the important thing to take from it is - when working with wood - it's important to consider all of the layers of material, and making each layer nice and flat so that the next is easy to install. I should have extended my plywood all the way down to the bottom of the floor joist system, not just to the bottom of the stud wall. I'm used to using earthen material, which is a shape-shifting material, and therefore very forgiving (and great). I am learning a lot about carpentry, and also learning a lot about why the potential marriage between wood and mud is so perfect (because wood can be needy).

More wood siding:

Jeremy and Tunk, enjoying a break in the shed.

The cotyledons of the lima bean plants. Jeremy and I went out of town for a day a week ago, and came back the next morning and the lima beans were just shooting out of the ground, as if the world was theirs for the taking!

More garden life. Everything except one bed of spinach is doing really well. Watermelons just came up, most recently.

The rain barrel is working really well. It fills up easily in one night of rain, just from one half of the shed roof. Notice the little 18-inch roof coming off the back of the shed. I decided that we needed an addition on the shed to store digging tools, and thought it would be appropriate to extend this roof; the building of this addition is covered in photos below...

Here I dug 18 inches down, and build up urbanite piers to hold the weight of the new extended roof:

Two piers:

Roof skeleton:

Walls, too. This is all using scrap lumber left over from the concrete forms - nothing new. More on this project later...

Siding and trim details around the bay window:

Time to get some mud on the wall. Here is the second generation of an "earthen siding" support system. The first generation was on the shed, and utilized heavy-gauge fencing and a 2-inch layer of structural cob. The idea here is to eliminate the need for cob (which is very labor intensive, and heavy). Instead, I wanted to just do a quick 3/4" layer of messy plaster, and then a couple finish coats of plaster to make it really smooth and beautiful. Chicken wire is super-cheap, and so is earthen plaster, so this is a very economic alternative to other siding methods/materials.

Scratch coat (the first coat of plaster, over which another smoother one will be applied later):

Notice all the texture in the plaster. This texture/unevenness will make it easy for the next layer to grab hold and stick, once this layer is dry.

What a beautiful urban lot!

Mike and Jeremy, throwing up plaster. These scaffolds were the ones Mike and I constructed at Pickards Mountain 2 years ago. Still going strong.

It's finally time to cut out the bathroom window. First I needed to remove the tar paper, and take out the screws holding the plywood sheathing into the stud.

Then cut the window shape out (which was much more complicated than the photos make it look):

Then install the window. It looks a little weird, and I admit that I didn't really consider it much from the outside. The location made a lot of sense from the inside. I think when the earthen plaster is complete, it will please my eye a bit more.

Another photo of the dry-stack urbanite:

Mike's first task on site was to dig out the other side of the trench, for the continuation of the urbanite foundation:

He came across a 5" steel sewage pipe, that's probably been in the ground for half a century. And a large root to go with it. We dug down deep enough to allow the perforated pipe to travel beneath these obstacles:

Then, like usual, filling the trench in with drainage gravel. Here, Jeremy tamps down the top layer of gravel, to get it to settle into place.

Mike and Jeremy worked on the urbanite stacking for this side of the foundation. It looks great!

Here is a door that Jeremy built for the garden shed addition, and the start to the pine slab siding. I got a bunch of pine slabs free from a guy 10 miles away who owns a sawmill in his backyard. Slabwood is the pieces of a tree that are initially cut off a log, when a miller is cutting dimensional lumber. It has one flat side, and one rounded side with bark.

Here I am installing the siding and window:

And the finished addition. This will be great to put tools in and free up some storage space in the house:

The scratch coat of earthen plaster is making its way around the house now to the back:

Here's a little gravel path out of the backyard so that we aren't always tracking in mud when it rains (which has been quite often). It's amazing how much the little changes (like a gravel path) can make a big difference in the flow of the work day, and the satisfaction of being on site.

This window received new trim today, as the old trim was flaking and dented and generally falling apart. I like the reflection of the shed in the window at sunset:

Wouldn't the sewer pipe be what connected the prior house to the sewer system? Isn't that what you would be connecting to?
ReplyDeleteI'm jealous that I didn't get to plaster around that window! (the one in the last picture)
ReplyDelete