Tuesday, October 25, 2011

Concrete Shower Progress... and more first.

The bathroom light/vent fan casts a warm glow on the tongue-and-groove ceiling.


I decided that I wanted to hard-wire in a vanity light, and so I got to experiment with cutting through the lime plaster/earthen plaster/ metal lath, and doing some retro-fit wiring. The top hole is for the light box, the middle hole is where I had to drill a hole through a wall stud to get the cable through, and the third hole is where the switch is to be installed. I was able to then fish the wires behind the plaster to get from one hole to the next, to avoid cutting away more of the finished wall.


I found it very easy to cut through the lime plaster neatly with a flathead screwdriver.


The light is now functional and ready to be mounted properly on the wall, but I'm waiting for the brown patch plaster to dry. Soon the bathroom walls will get the finish coat of plaster!


Here's Jeremy's vanity with the vessel sink installed.


Mike working on preparing the base cabinets for a future tile countertop. Here he goes the extra mile to knock a shim under the edge of the cabinet to level it.


Installing the metal lath:


And plastering over with the scratch coat of plaster:


The concrete shower has been quite a project. These photos are from the day after Mike and I labored for 8 hours straight, troweling yellow stucco around all of the sculptural details to complete the final layer of the shower walls:


You'll notice in the photo above that the bench and floor are not finished. This is because we wanted to do them in a different color (which turned out to be a deep purple). Here is the red and black pigments that I bought to add to the white Portland cement:


Dry-mixing the pigments and cement. The other ingredients that were then added were water and sand.


And here is the finished floor/bench stucco (and a beautiful stone that we mortared in): It's looking quite shiny and very purple in the photo because it is fresh. It will dry to be less shiny and more of a faded purple.


Now all the shower needs is a coat of sealant over the concrete (we're looking for the right product that is both non-toxic and functional), and of course a curtain!


Leo and Danielle making opposite-facing, similar expressions:


A little snuggler, he is.


Saturday, October 15, 2011

Autumn video

This is what's going on...

Monday, September 26, 2011

A house feel by the end of October?

The first update is unrelated to building, but instead to my newest title of father/builder! Here I sit in front of this screen with my new boy, Leo. He was born on the 31st of August at 5:40 AM on an earthen floor  of a cob house. Weighing in at 8 pounds 4 ounces (at birth), he is a strikingly handsome new member of the family. Notice below how in an almost chameleon-like fashion, he adjusts the look of his head to be camouflaged within his surrounding context.


Here he is at about 11 days old...


And here he is with Mommy on the building site.


To see more of Leo(pold), check out his blog.


There is a lot more going on at the work site than I have photos to show for...


Here is Mike showing our friend April how to apply earthen plaster, around the new glass blocks that he installed in the shower stall.


The house is starting to show signs of having cob and earth and curves in it...


Here is the loose fence system I've been using to sculpt with cob. It's a lot like making any other kind of sculpture around a skeleton of metal.


The start of a sculpted niche for a coffee mug or candle (or something less romantic, such as car keys).


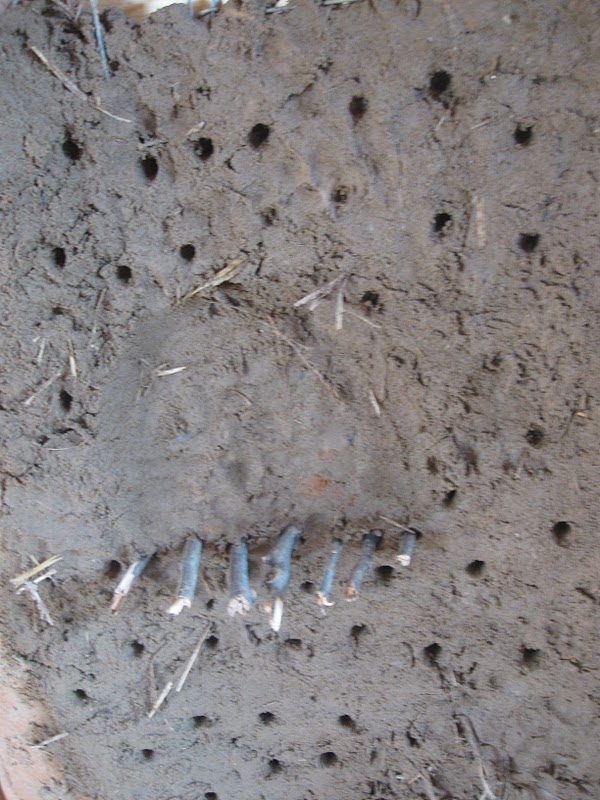
The pattern of scratches in the plaster will allow the next layer to stick into the existing one.


Tongue-and-groove pine boards stained and polyurethaned, and waiting to make themselves into a ceiling.


A peek into the custom concrete shower stall:


And today a cut a big hole in the wall for a brand new bathroom window!


The main reason for this window is because I am going to install a baseboard heater along this wall as a temporary heating solution for the winter, and the heaters work best if they are beneath windows (as the cold air drops down, is heated up, and then spit back up into the room, creating a circular draft). And eventually after the addition is built, the door to the bathroom is going to be where the new window is anyway, so we're half a step closer to having a door. The window will of course have a curtain over it, for when one wishes to sit on the throne in privacy.


Water and Electric hook-ups any day now....!


Friday, August 19, 2011

Snippets

Despite my negligence in keeping up with the blog posts, it would be a mistake to think that there isn't a lot happening on the building site. There has been a big push to install utilities, build a new "guest cabin" out back, and add some unique and crafted features to the house.

Starting with the new cottage... The cottage will be finished for under $1,000 (maybe 800?). It utilizes a lot of scrap materials leftover from other building sites as well as our own, and free natural materials.


The framing system for the walls is very traditional - 2X4 studs, spaced 16" on center. However, we spiced things up in a natural manner by filling the stud bays with what's called light-straw-clay. This is mostly straw, dipped in a watery clay slip, and then packed down between forms that are later removed. I wish I had some good photos to describe the process, but I don't.


An earthen sub-floor made pretty much from on-site dirt:


The metal, spiderweb-ish brackets supporting the back of the sink are from my grandma's basement (as is the wash basin hanging above the sink). Thanks, Grandma! The sink itself was saved from the dumpster. The roundwood was from on site. The countertop was an old kitchen cabinet door from my parents' house. The dowel was free from the side of the road. The window was $1 at the Habitat ReStore. And the orange plaster is colored with free clay. Unrelated to this photo: The roofing was scrap left over from the other building (plus free scrap that was left with the original roofing delivery), plus donated shingles; the wall fill/insulation is mostly straw and clay; the floor is earthen (mostly free except for some added sand); the ceiling is $24 worth of cotton muslin fabric; the bigger windows were given to me by a friend; a lot of the 2X4s were leftover scrap and/or demolition materials from another building, that we de-nailed;  the pine slabs on the exterior were free from Craigslist; and so on and so forth.... Mostly the cost of the building was concrete for the piers, lumber for the floor/roof systems, and screws + nails.


Experimenting with fabric for the ceiling:


Lime-clay-sand finish floor:


Back deck!


The deck has been a godsend in terms of creating a nice flat workspace:


Outdoor sink I crafted for Danielle - it can be connected to a hose via the red "Pex" tubing:


The (beginning of the) creation of a custom, cement shower stall:


And a decorative (and functional), cement mortar threshold onto the back deck:


Testing out different plaster mixes to see which we like the feel of most, and which performs best over time/with weather/etc...


I learned how to do electric wiring finally (thanks Dan and Mike!). I have now passed the electric rough-in inspection.


And plumbing is done, too! (with the rough-in inspection just passed yesterday).


Here are the steps with the finished treads on top:


The cob wall in Elaine's backyard is holding up really well:


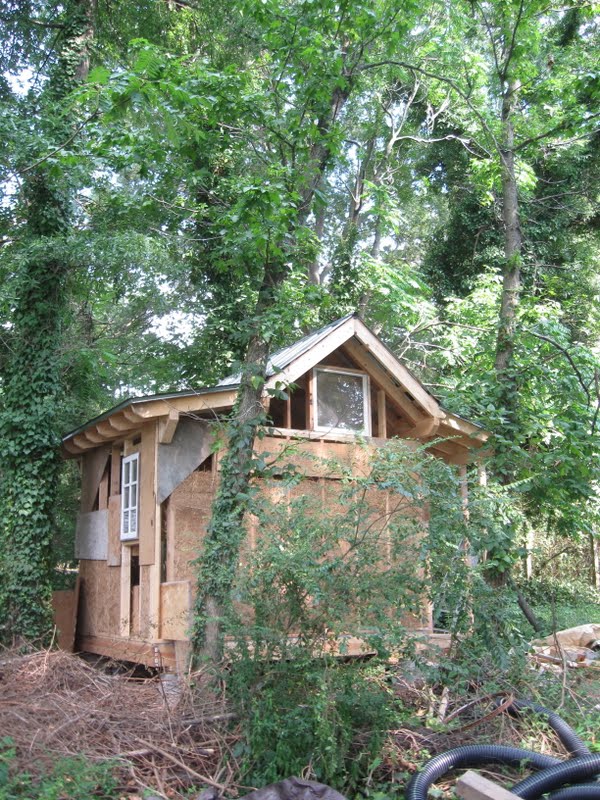
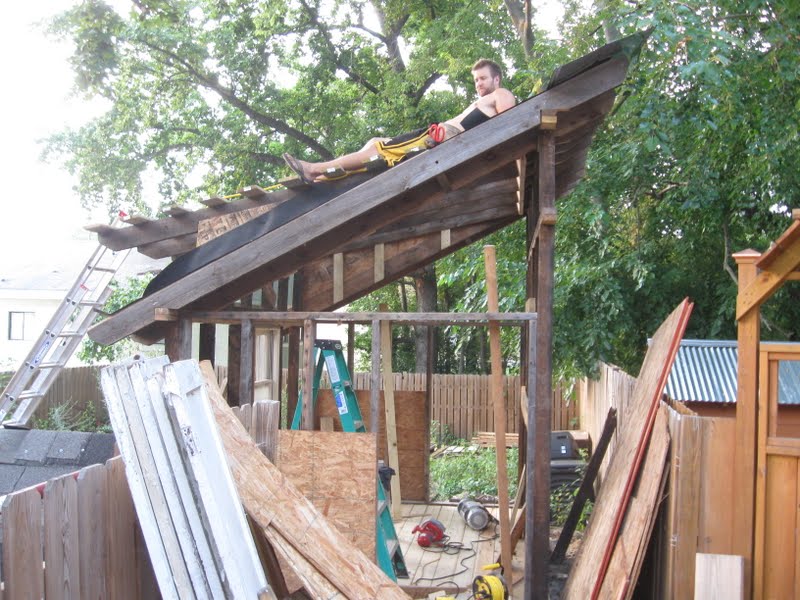
Dylan has been working a lot on his shed in the backyard: